tinyapps.org / docs / Setup FreeNX Server on Knoppix 3.6
Knoppix 3.6 includes FreeNX Server, a remote access program similar to VNC, Citrix, etc, but with significantly greater speed. It is very easy to setup:
I. Enable server on Knoppix
- Click Tux menu icon > Services > Start NX server:

- A short script will run. Press any key when prompted.:

- Click Tux menu icon > Root Shell.:

- Type
nxserver --adduser knoppix and press Enter.
- Type
nxserver --passwd knoppix and press Enter.
- Type a password (be sure to remember or write it down) and press Enter:

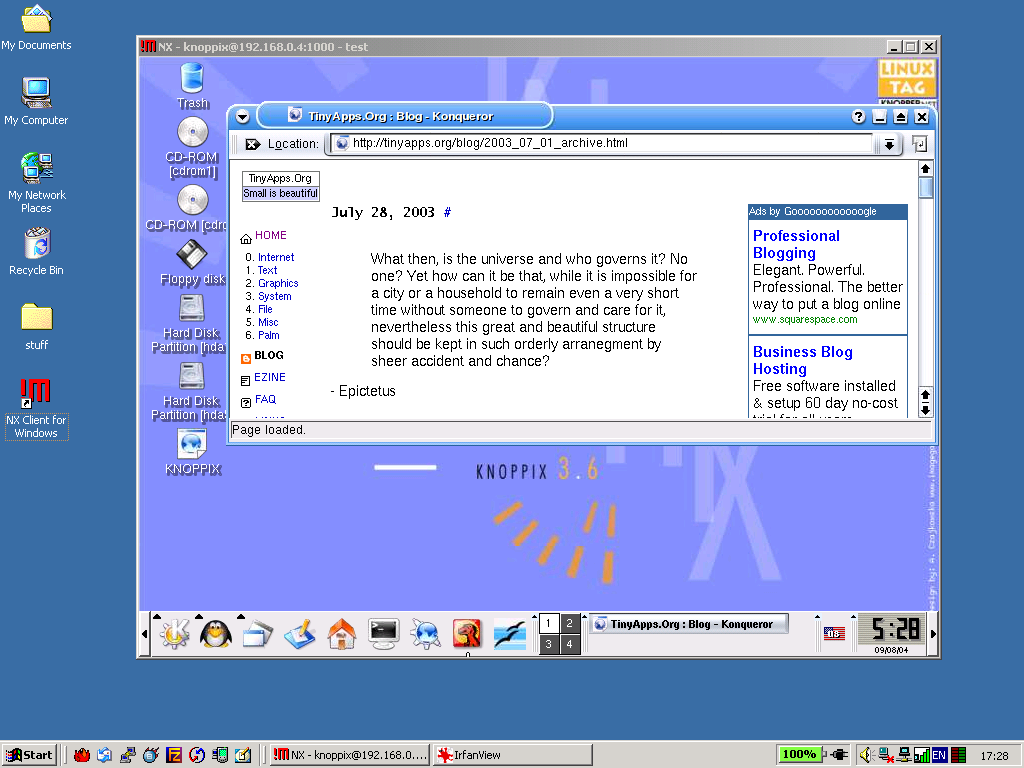
II. Connect to FreeNX server from client
- Download, install, and launch the NX Client software for your platform.
- Follow the prompts to connect with the FreeNX server you setup in part I.
- Enter
knoppix for username. Enter the password you assigned in part I, step 6.
- Enjoy! When you are finished, click the K Menu icon in the bottom left hand corner, click Logout and then Logout again.

III. More information
created: 2004.09.09